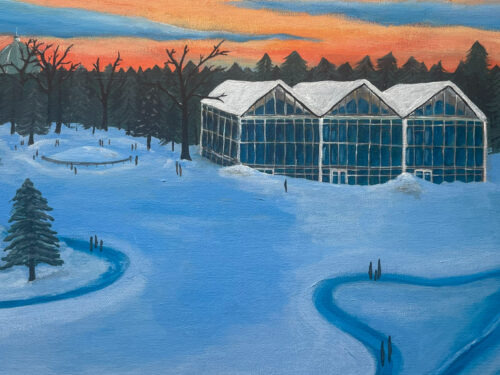
Create these simple building illustrations in 4 steps!
I’ve been working on these cute illustrations of landmarks around London for a little while now. They are super easy and fun to create so I thought it would be a nice idea to write through the process so anyone who wants to give it a go can create their own.
The Process
1. Choosing your inspiration
For this, you have total freedom. When I first began this project I chose buildings that I personally love – such as the V&A which is one of my favourite places to visit in the city and Tower Bridge because I have happy memories here. You may also decide to choose a subject based on complexity – big grand buildings, such as Buckingham Palace, require a lot more details, while more simplistic buildings, such as The Shard, are much more straightforward.
I would recommend trying to overlap the two for your first illustration. Choose somewhere that you love but that also doesn’t require a huge amount of details. When you’re more comfortable with the process move on to more complicated architecture.
2. Quick sketch
For this step you really don’t need to go into detail, it’s more so a case of mapping out the main shape of the building and defining the areas where you’ll paint different shades or colours. My tip would be to keep the lines really faint and rub off any mistakes before adding the paint as it can be quite difficult to get rid of or hide once the paint is there.
3. Time to paint
For these illustrations, I like to keep it to just two colours to achieve this simple and fun style – more colour will be added in the next step. I also like to exaggerate the brightness of the colours for this illustration style – so dull beiges become bright a yellow gold. Just have fun with the colours!
I use gouache paint (products listed below) for these because I find that the colours pop much more than watercolours do. Mix with a little water to make the paint a more spreadable consistency and fill in the shapes you drew in the previous steps.
4. Adding details
This is my favourite part! Once the paint has dried it’s time to add the detail. For this I use coloured pencils and, if needed, a white gel pen. I use the white gel pen because I find that it stands out much more than a white pencil does.
This is the most complicated part but you can decide how much or how little detail you add. Simply pick your colours and draw away. I like to use browns and blacks to add main building details, particularly on the yellow/beige sections and for the blues I like to use either a brighter or bolder blue to add the details, depending on the building of your choice.


And, that’s it! I’ve also scanned these in to create digital art with so if you would like to know how I do that let me know and I will create a second part to this guide.
The Tools
Watch the process!
I filmed a version of this guide for my TikTok if you’d like to see the process.
I hope you enjoy your painting – if you give it ago I would love to see what you create! ★
(this post contains affiliate links)